We will guide you through everything you need to know on how to use your custom Content Library on the Cherrydeck platform.
In this guide we cover:
- Accessing your Brief Dashboard
- Seeing your project’s selected creatives
- Receiving Shipping Information
- Using your Content Library
- Exploring Galleries and adding comments
- Reviewing and purchasing your shopping cart
- Accessing your purchased items
1. Access your Brief Dashboard
Go through our brief submission process and share your photography project with us.
Once you submit your brief, you can see it in the Brief Dashboard in your profile. There you can also create new briefs.
Your project will be ‘In Review‘ until we post a job on our Jobs & Opportunities page.

2. See selected creatives
You will be notified once the Cherrydeck team has carefully reviewed and selected the creatives for your project.
You can see our selection in your dashboard by clicking on ‘See Creatives‘.
3. Receive Shipping information
By clicking on ‘See Creatives‘ you’ll be able to see their shipping addresses as well.
Use the addresses displayed to send the products that need to be shot.
After you shipped your desired products, click “Mark as Shipped” to notify our team. The button will then display ‘Shipped‘. Consequently, we will notify you when the selected creatives have received your products.
Please note: You will be getting reminder emails from us until your products are marked as shipped.


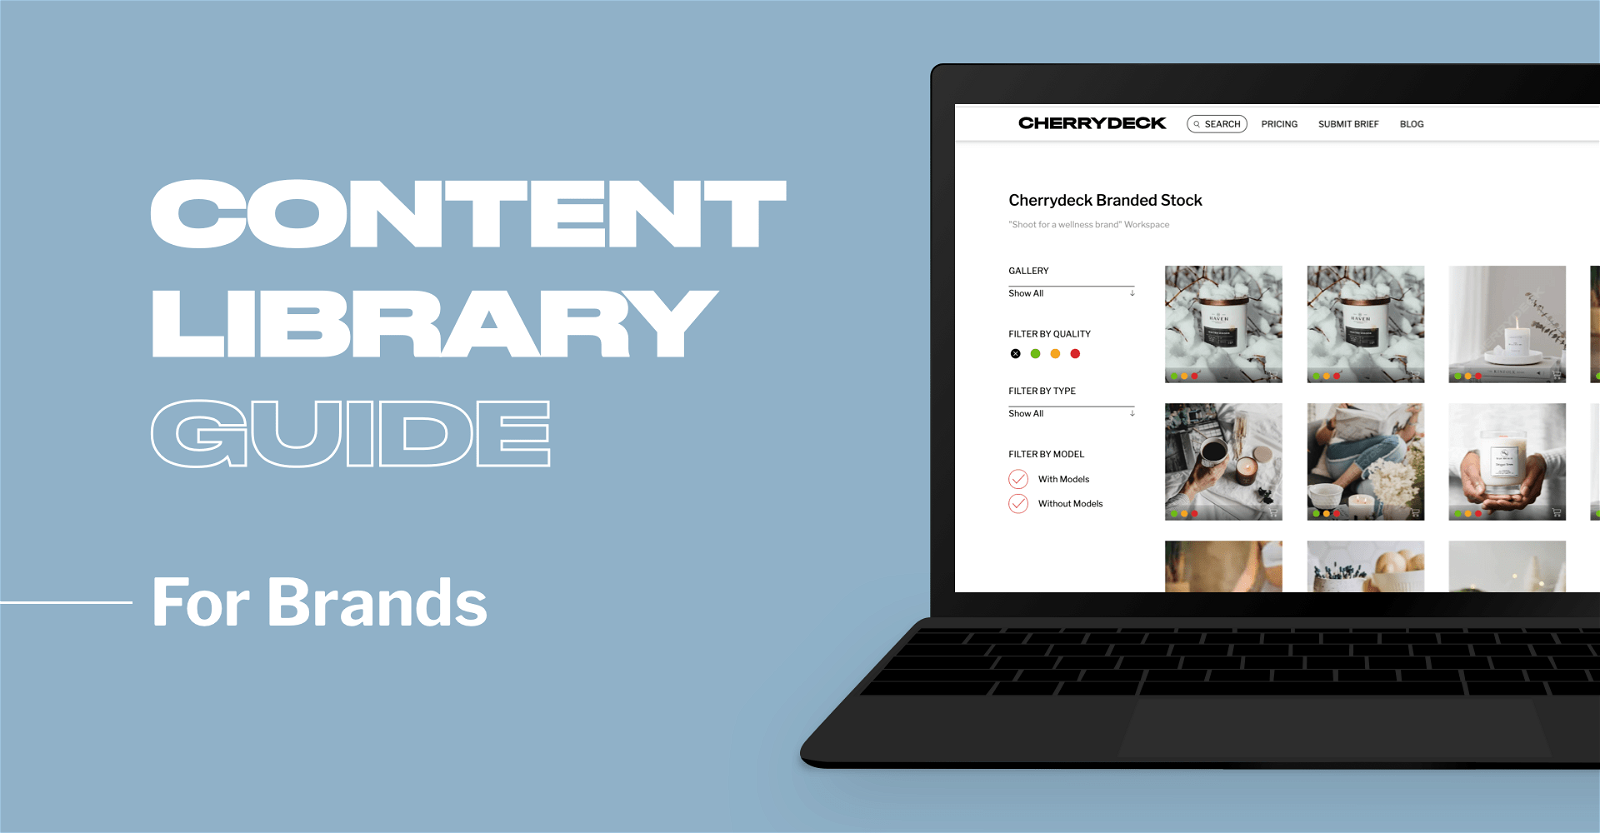
4. Access your Content Library
Once creatives have received your products, they will shoot them in a timely manner, and according to your brief and guidelines. Sit back and relax while your content is being prepared!
If you see the ‘Content Library’ button in your Brief Dashboard, it means that your content is ready.
Don’t worry, we will notify you via email as well!

5. Explore your Galleries
In your Workspace, you’ll be able to see the shared galleries from the photographers assigned to your project with an easy-to-navigate folder view on the top left corner of your Content Library.
You can select which Gallery to see and filter its content by quality, type, with/without comments, or model as you wish!
To facilitate your review, all assets are displayed in their correct aspect ratios: Portrait and Landscape accordingly.

Use the folder navigation to move between galleries, and sort all the content provided.
View the results in full-screen mode, label them, and add them to your cart as you wish!


Adding comments
You are able to request modifications and/or retouching to your assets by adding comments on your desired photos/videos.
To access the comment section, open an asset in Full Screen mode and click on either:
- The ‘Comment’ icon on the bottom left corner, next to the color labels.
- The ‘Add/read comments’ text right above the ‘ADD TO CART’ button.
The comment section will pop up on the side bar instead of the add to cart options. You can add comments freely, but you cannot edit them once sent.
The creatives assigned to your project will be notified accordingly.

Please note: Original and modified images are sold separately. (I.e. a modified photo featuring a model with a removed tattoo constitutes two different images.)
6. Review assets in your shopping cart
Review your shopping cart to see the prices for your selected photos and/or videos. Remember you can purchase multiple assets at the same time.
Make sure your selection of assets is correct before downloading the content.

Once the decision is made, go to your shopping cart to purchase and download the selected photos and videos without a watermark.

7. Access Purchased Items
You can see your downloaded photos and videos in the Purchased gallery.
Of course, you can always come back to your Content Library galleries to purchase more assets you’d like to use!

This is the end of the guide. Remember you can see all updates on your account’s dashboard.
Ready to use your custom content library? Submit a brief to get started!
If you have further questions, kindly contact us so our team can assist you.